

The Art of Bike Painting: A Colorful Transformation
In this YouTube video, viewers were taken on a vibrant journey through the fascinating process of bike painting. This video not only showcases the artistry involved but also highlights the meticulous steps required to achieve a stunning finish.
Overview of the Process
The video begins with an introduction to the bike’s original state. Here are the key steps highlighted in the video:
- Preparation: The bike is thoroughly cleaned, and preparation for the first layer of priming.
- Priming: A primer is applied to protect the metal and enhance paint adhesion. The host emphasizes the significance of using a quality primer for long-lasting results.
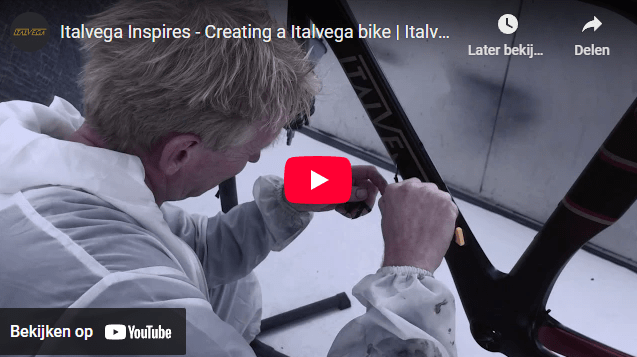
- Painting: Viewers are treated to a colorful display as the host demonstrates various painting techniques. Using spray paint, brushes, and even airbrush tools, the transformation begins to unfold. The choice of colors and patterns adds a personal touch, making each bike unique.
- Finishing Touches: After the paint dries, the host applies a clear coat to protect the paint job from scratches and UV damage. This final layer not only adds shine but also enhances durability.
Why It Matters
The video not only serves as a tutorial but also inspires creativity. Painting a bike can be a rewarding DIY project, allowing individuals to express their personality and breathe new life into their ride. Whether you’re a seasoned cyclist or just starting, the art of bike painting opens up endless possibilities for customization.
Conclusion
This YouTube video is a must-watch for anyone interested in personalizing their ride.